How I Take My Blog Photos
Since I've really worked on improving my photography both on my blog and Instagram, I'm often asked how I take my photos, which camera I use, can you use an iPhone and how do I edit my photos so I thought the best and most helpful way to answer this would be to put it all into one lengthy old post. Photography has never been something I excelled in and before starting JHM, I'd never actually got my hands on and used a proper camera so the whole photography part of blogging as totally new to me. I soon learnt how important the photography on your blog was so I did some research and played around with what I had until I found the angle, set up and props I loved.

By no means do you have to go out and spend £300+ on a camera, a tripod, remote, lighting or expensive props to have good quality, eye catching blog photos. You can always find a way to work with the tools you've got and this is the way I learnt. Any photos that were uploaded to my blog before August, were in fact taken on my iPhone 5s, I relied on my little phone camera to give me crips photos and it did the job just fine. With a white table cloth as a background and a few flowers, note pads and scarves chucked in, I was able to create photos I was happy with and ones that were of good quality. However, there came a time when I needed an upgrade as I wanted to do more fancy pancy things with my photos such as blurred backgrounds and a range of different shots so I picked up a new camera for my birthday and I am in love. All blog photos are noW shot with the Panasonic LX7 which is basically a DSLR, in a compact. This little camera can do a hell of a lot and is a lot less pricy and not so lumpy to lug around. To make this easy for me, I'll just give you the run down of what goes on when I'm taking blog photos... I like to call it the blog photo process...
PLANNING
And lots of it... Before I take any blog photos I get out my favourite note pad and jot down a load of ideas, what products to use in each post, how I'll set them up, the props I'll use, what the background will be and so on. I find these really helps me when I'm about to shoot for a post as I have everything in front of me and the whole process is sped up. Once I've planned in my note book and have gathered the products, I'll get some extra bits and bobs incase I want to add something else in or want to switch the products up. Having everything to hand is a whole lot easier as I shoot in my conservatory and don't want to be running up and down the stairs every 5 minutes! Lazy, I know.
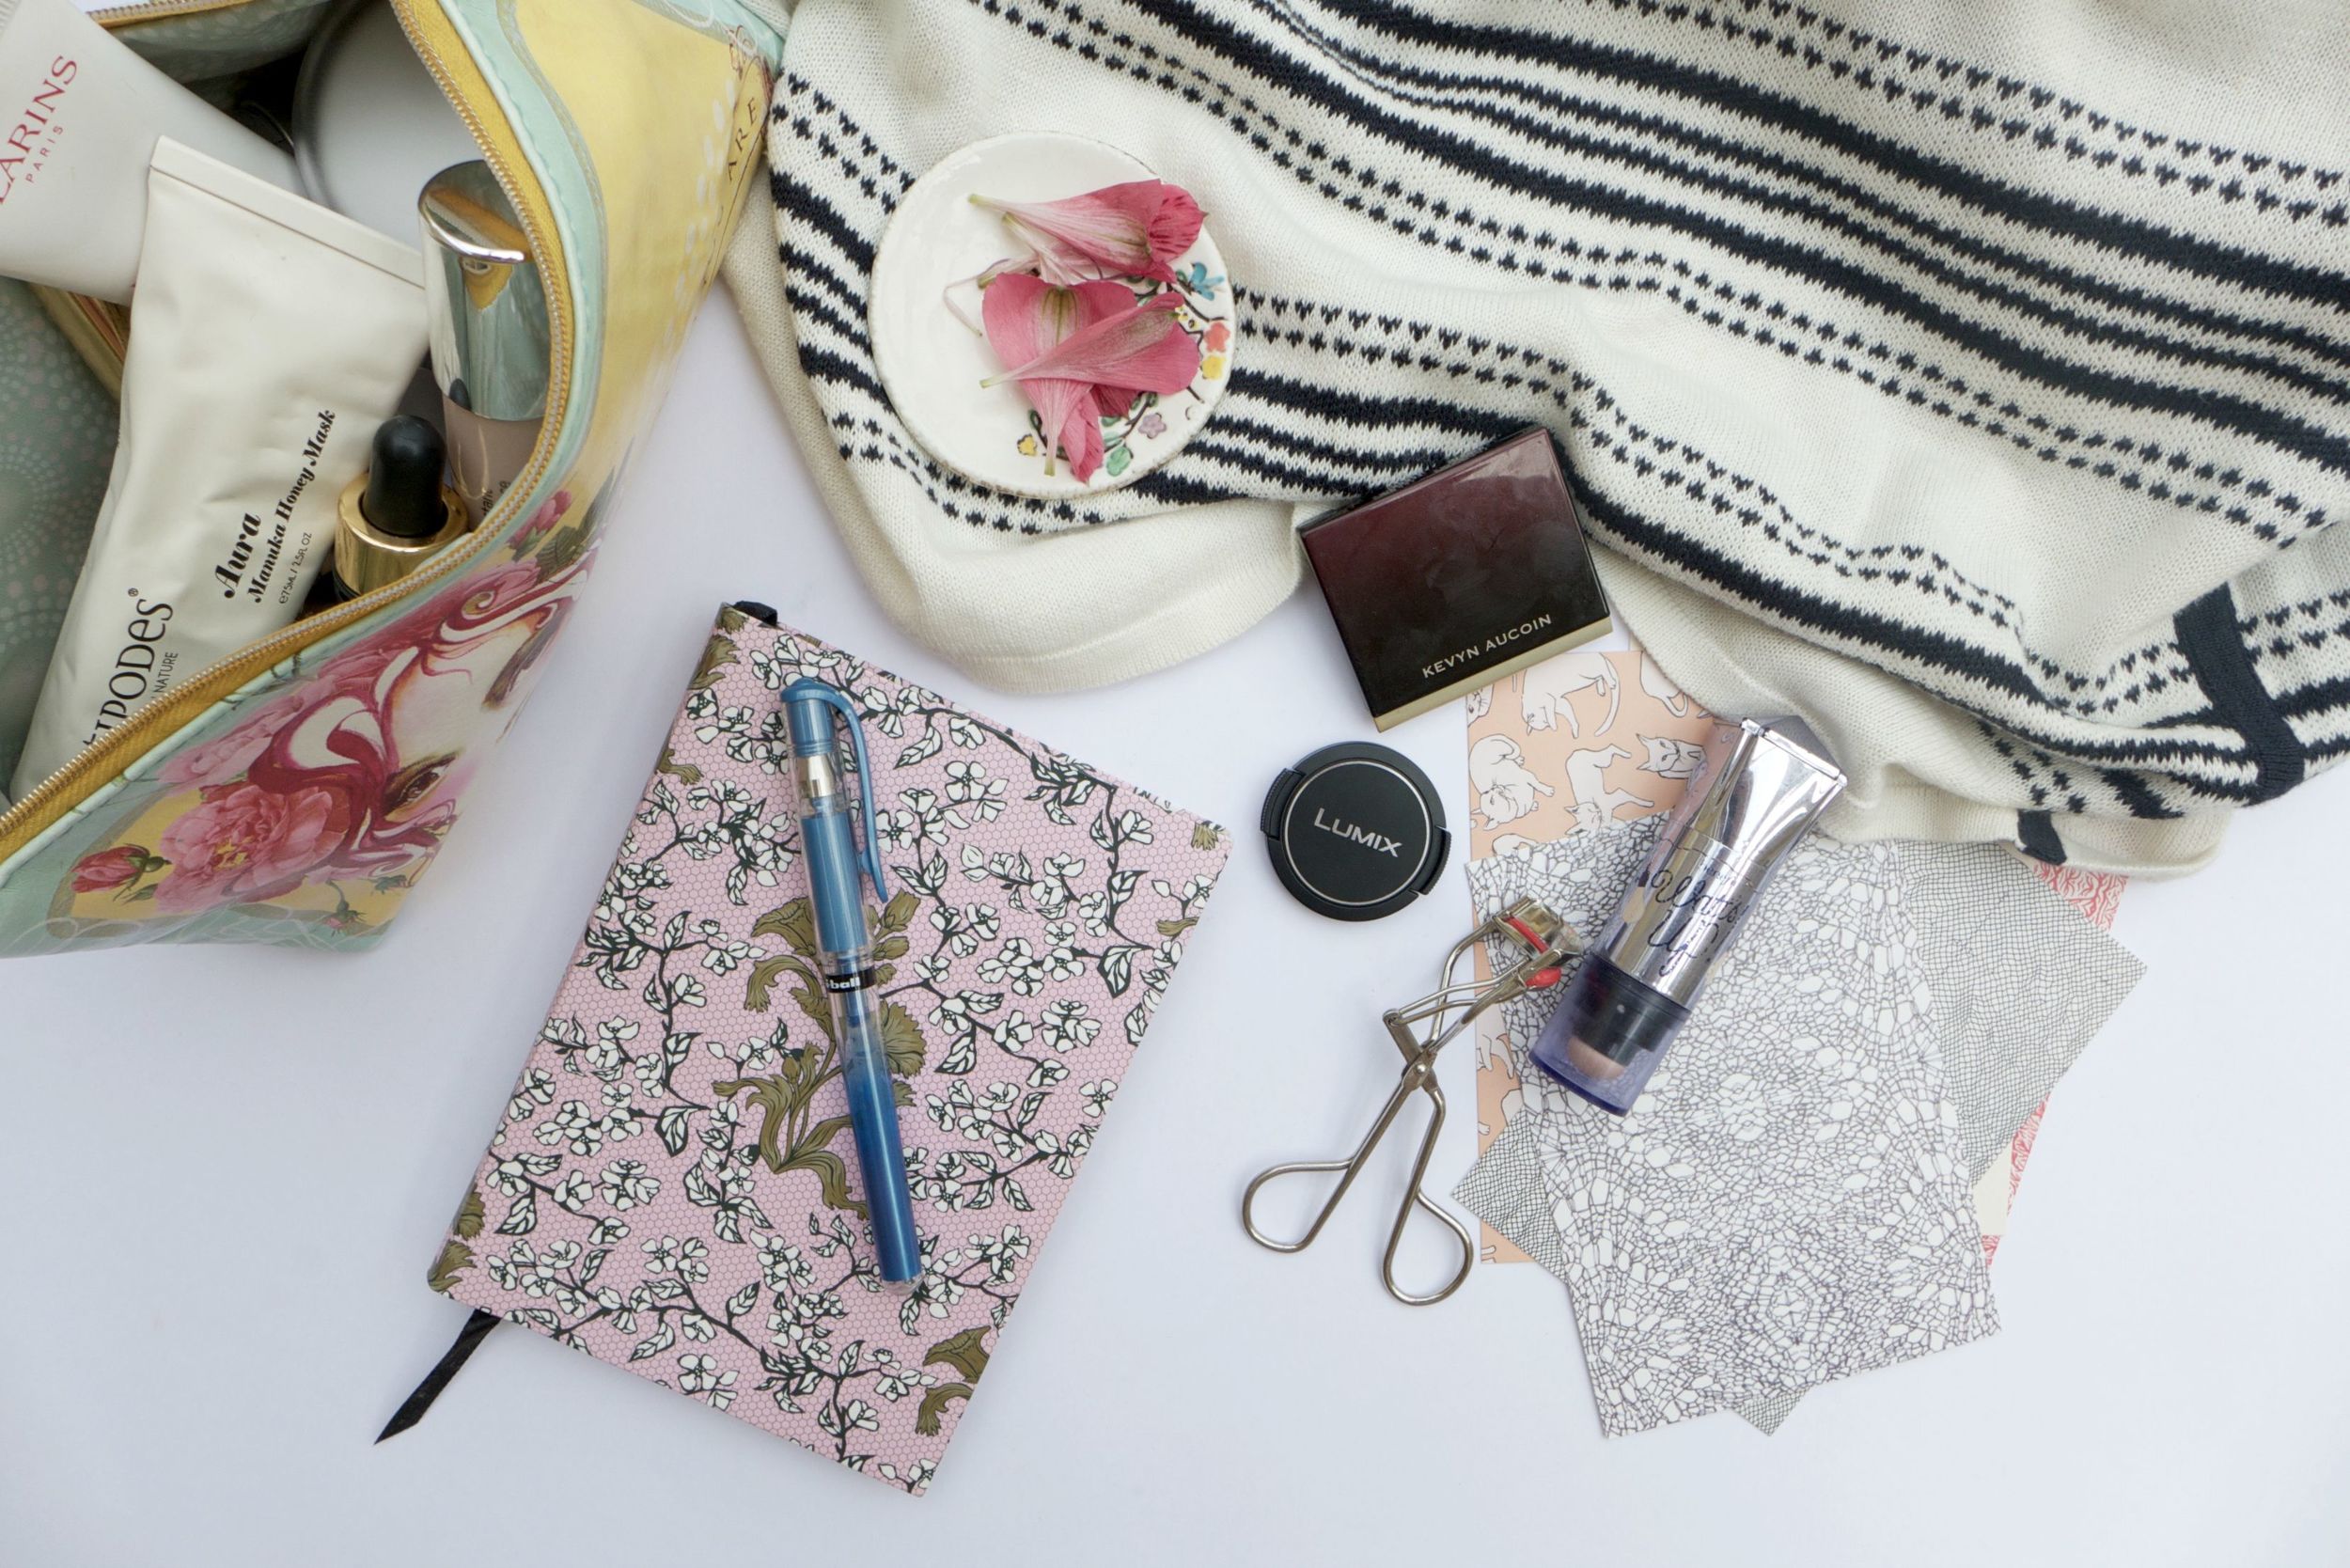
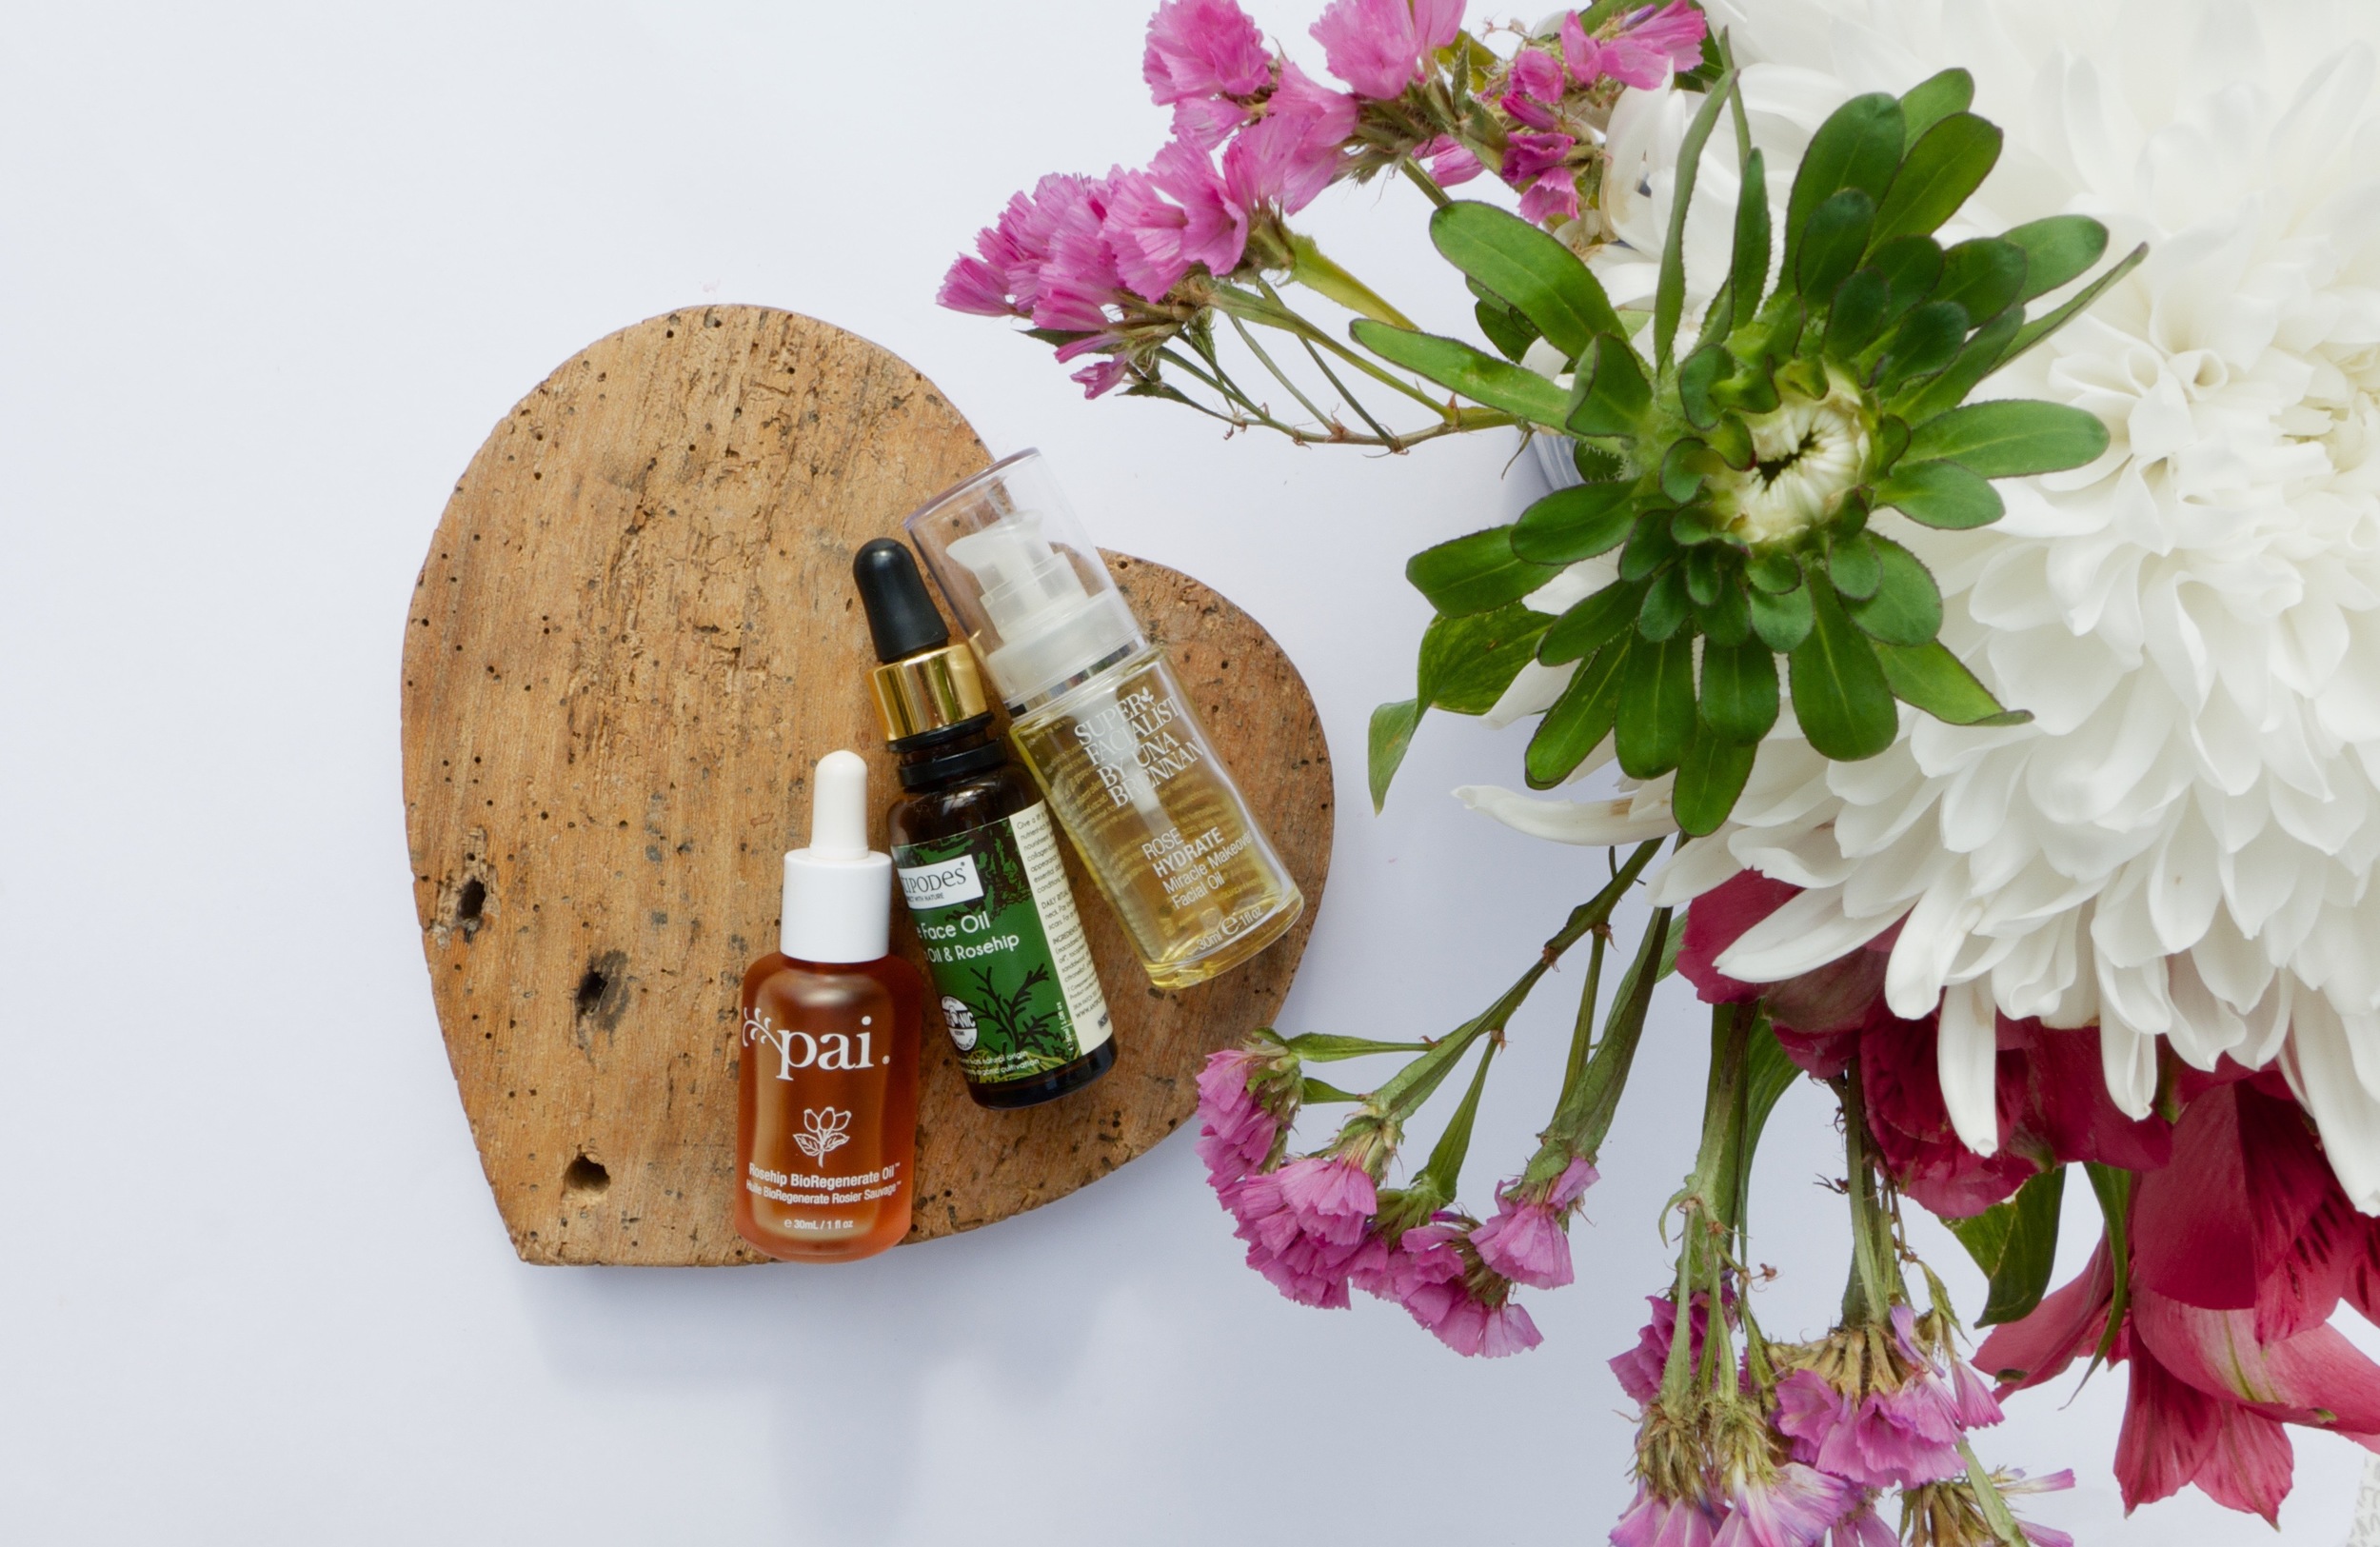
GATHERING PROPS
Any blog photo for me, needs props. Whether it's a vase of flowers, candles, other beauty products or completely random house bits, they are essential in my photography, although a nuisance to find. I'm always reluctant to go out and buy something specifically for a blog prop so I search the house first and try to find anything that is remotely relevant or that will go nicely in a photo. I usually pick up other beauty products to have in the background and then some flowers or different coloured blankets to throw in some colour. Once I've picked out a number of props, it's time to set up and get shooting.
SETTING UP
Next up is the most important step for me, actually setting up the photo and creating something I would want to look at over and over again and post on my blog. I usually play around with a number of different props to see which fits in the photo the best. I tend to play around with flowers, scarves, fabrics, note pads and a few random dishes I grab from the kitchen. This is probably the part that takes the longest for me as I like everything to look perfect and tend to re arrange over and over again (usually going back to the first set up).
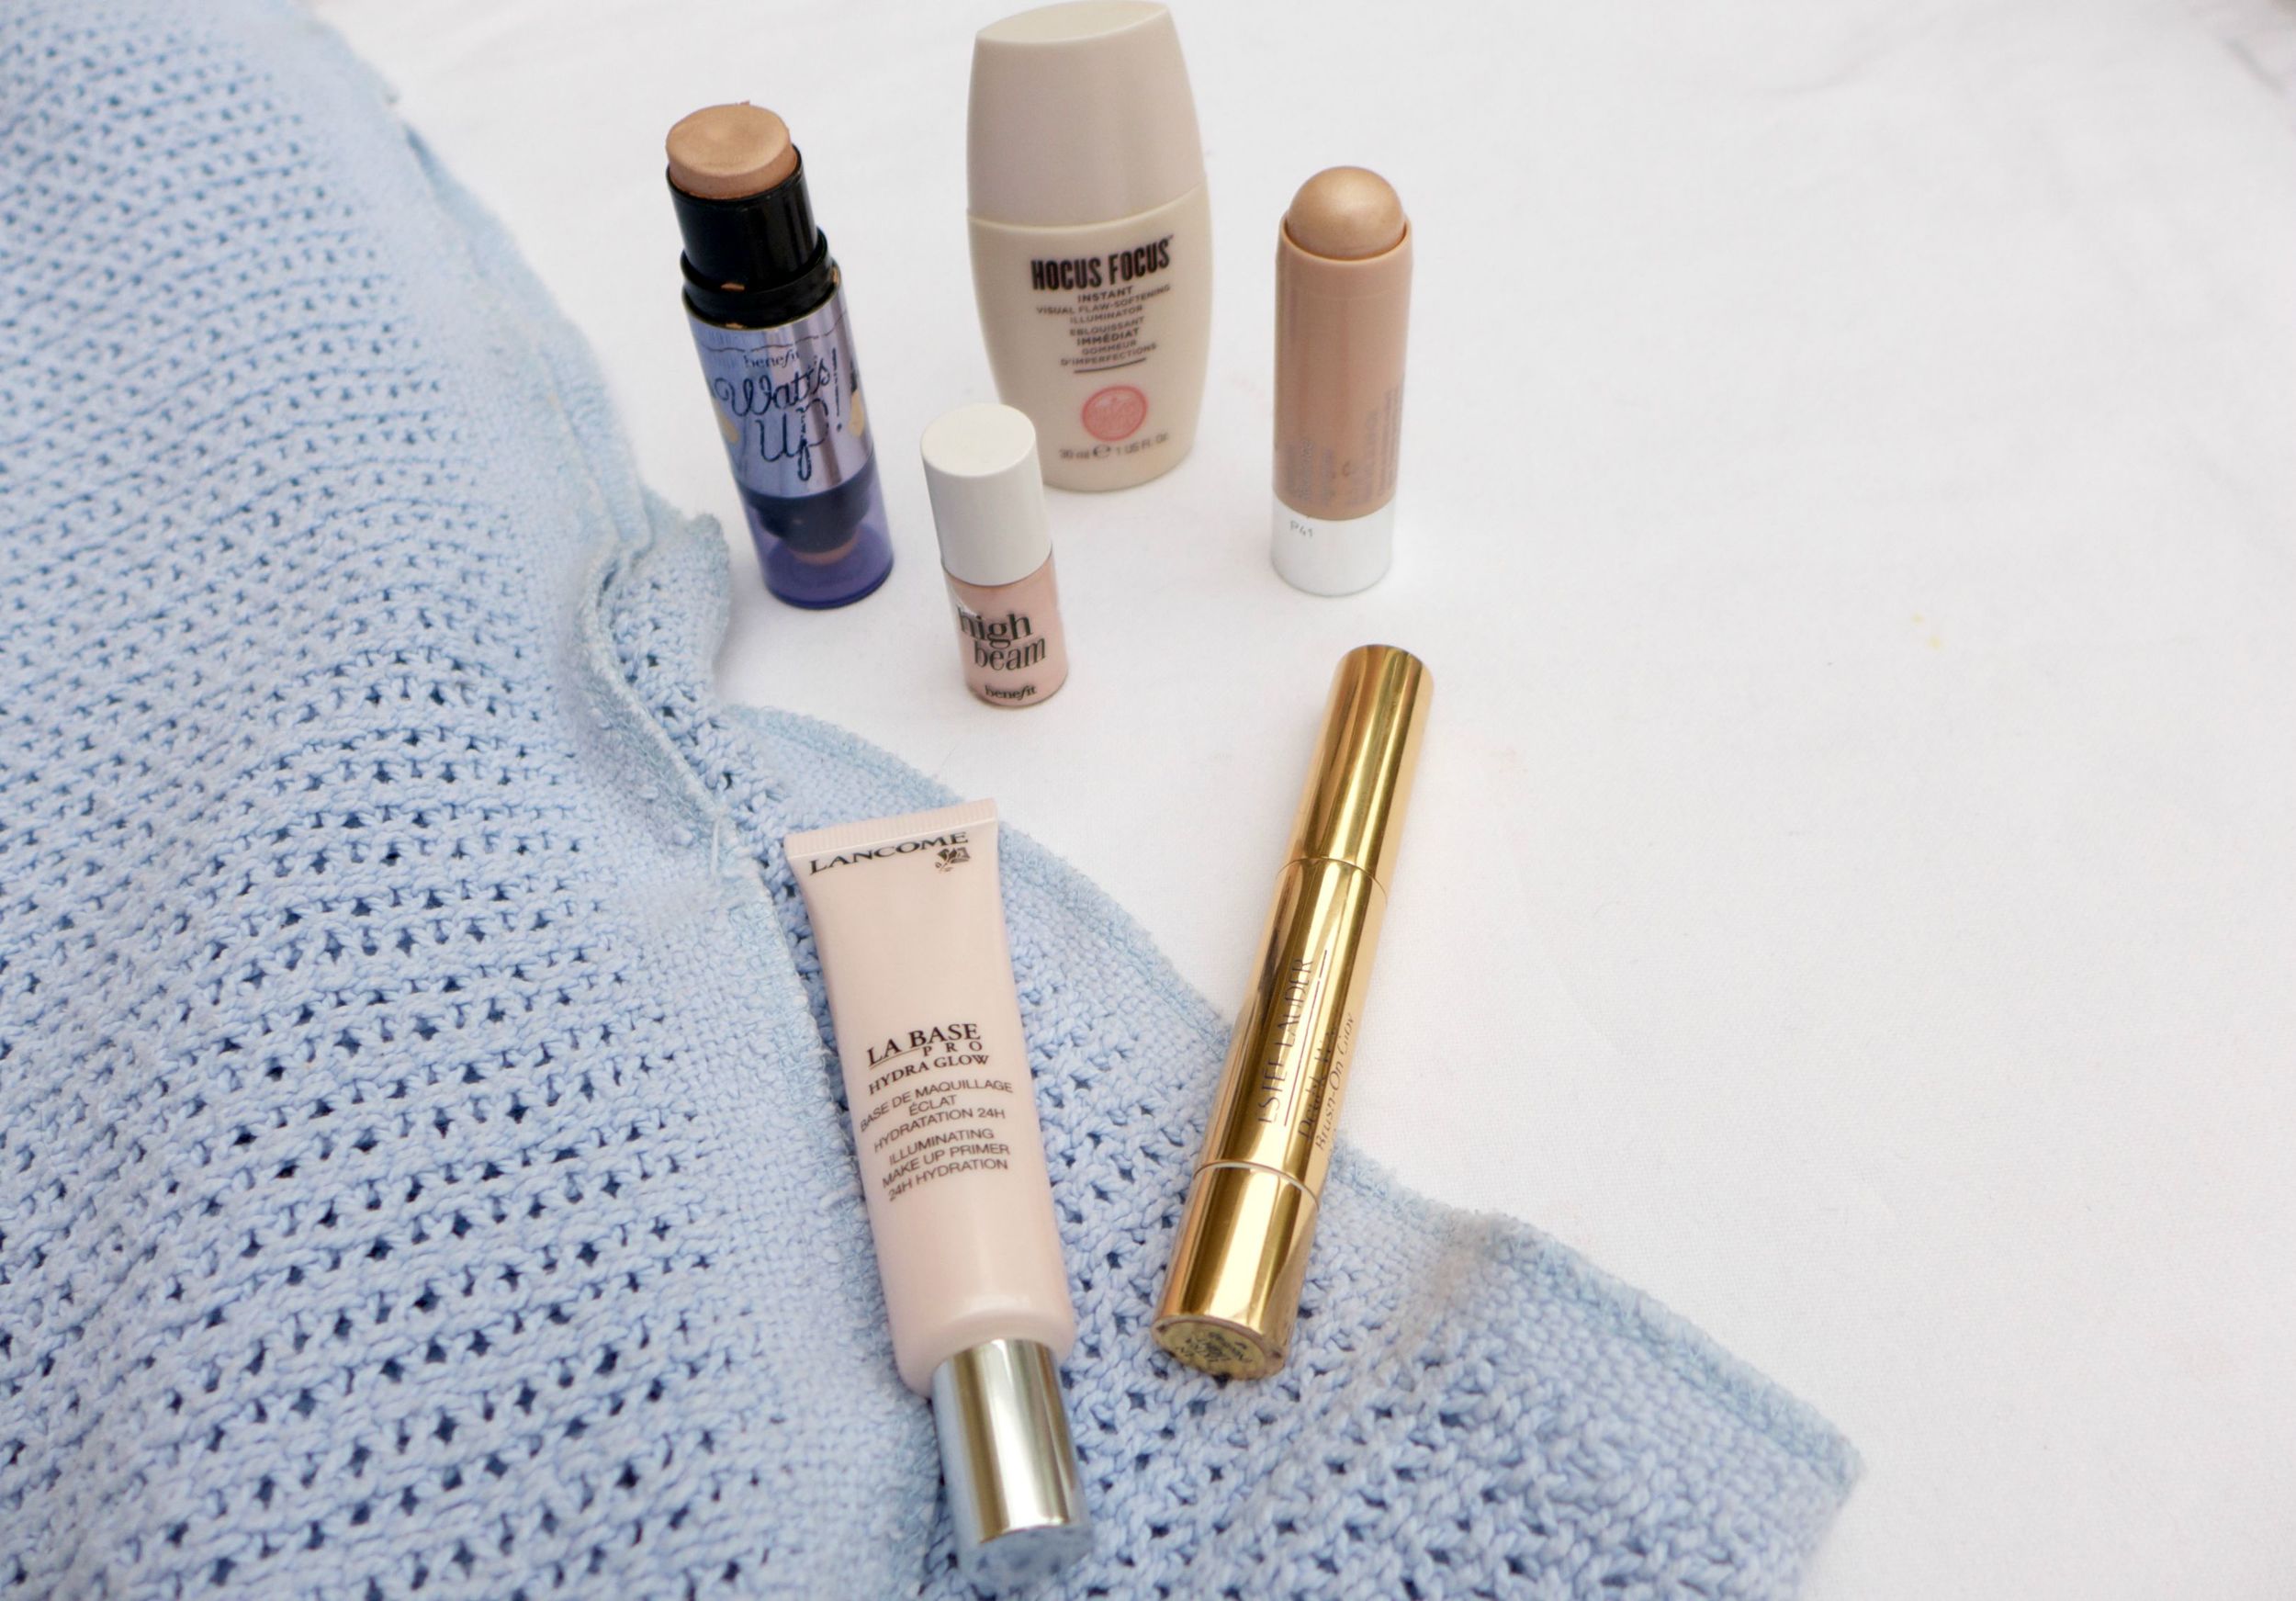
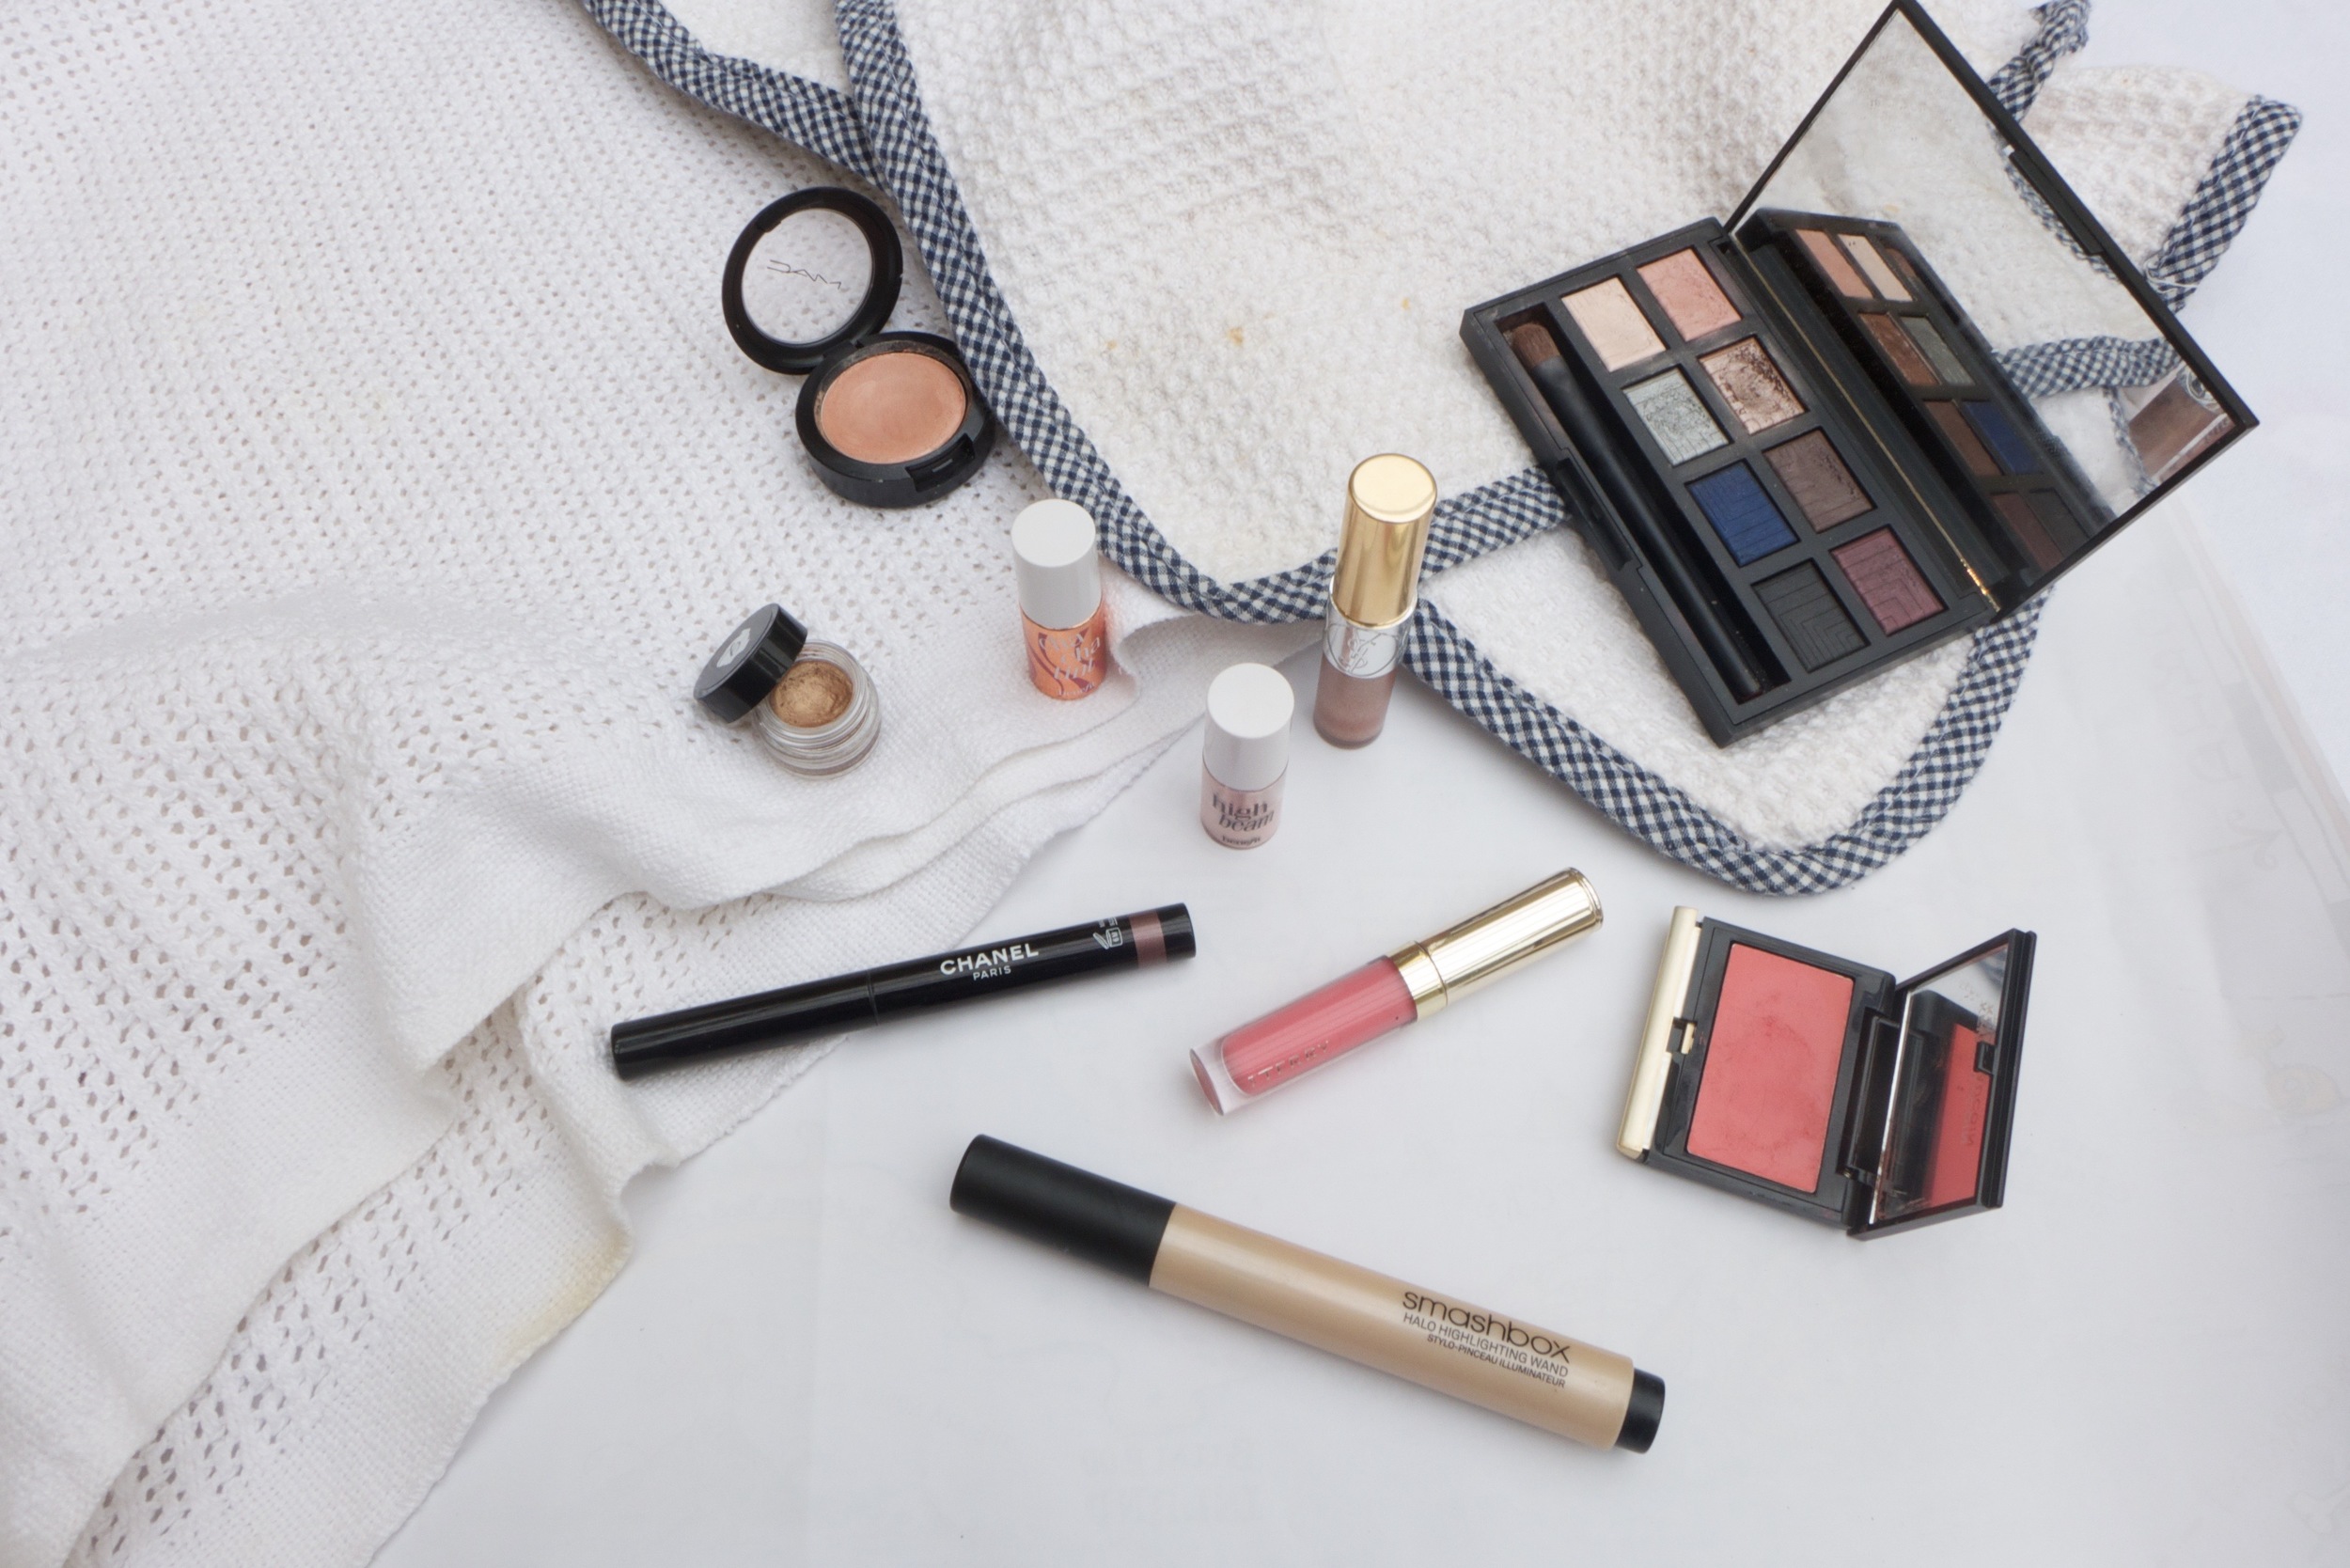
TAKING THE PHOTOS
I don't know about you, but for me, I usually take about 50 photos per post, just in case. No seriously, I snap away until I'm sure I have enough to pick between incase they all came out wrong or if some didn't look quite right. I tend to take the first few photos, look back at them and then re arrange or go from a different angle to change up the photo. Since I've started adding more than one photo into each post, if say I'm doing a Top 5 Lipstick post, I'll get some close up of the lipsticks themselves or a swatch to show off the product. Once I feel I've taken enough photos then I upload them to my laptop, have a look through them all and either get on wit editing, or start shooting all over again. (that meaning, it's been a total disaster)
EDITING
Now, there's a number of different websites or applications to use when ti comes to editing blog photos and many bloggers tend to reach for Photoshop which, if you have it great but if not (like me) then there are plenty of other options so do not panic. I mix between editing apps depending on the feel of the photo and the look I want to give it. I always ensure my photos look crisp, bright and clear where you can see the products well and nothing is blending into the background. Pixlr is basically a free online version of Photoshop and makes editing a dream, you can alter brightness, change the exposure, highlights and play with the curves. I always go straight in with curves and play around until the brightness is just right then either bring the contrast up a bit or lower the saturation. If you aren't into the complicated editing then Pic Monkey is incredibly easy to use and I also use this sometimes if I just want to quickly up the brightness.
How do you edit your photos?